
![]() I have owned the yellow chevron fabric used in my last post for a few months now. I knew I wanted to make Peek-a-boo’s Sailor Shorts with it but I was very intimidated by having to match up the chevrons at the seams. I finally decided to just go ahead and do it. I created this method as I went along and it worked out great! I am pretty excited about it. Here are my finished shorts.
I have owned the yellow chevron fabric used in my last post for a few months now. I knew I wanted to make Peek-a-boo’s Sailor Shorts with it but I was very intimidated by having to match up the chevrons at the seams. I finally decided to just go ahead and do it. I created this method as I went along and it worked out great! I am pretty excited about it. Here are my finished shorts.
![]()
I also made another pair reversing the fabrics. It was a lot less time consuming!

So here is the method I came up with.
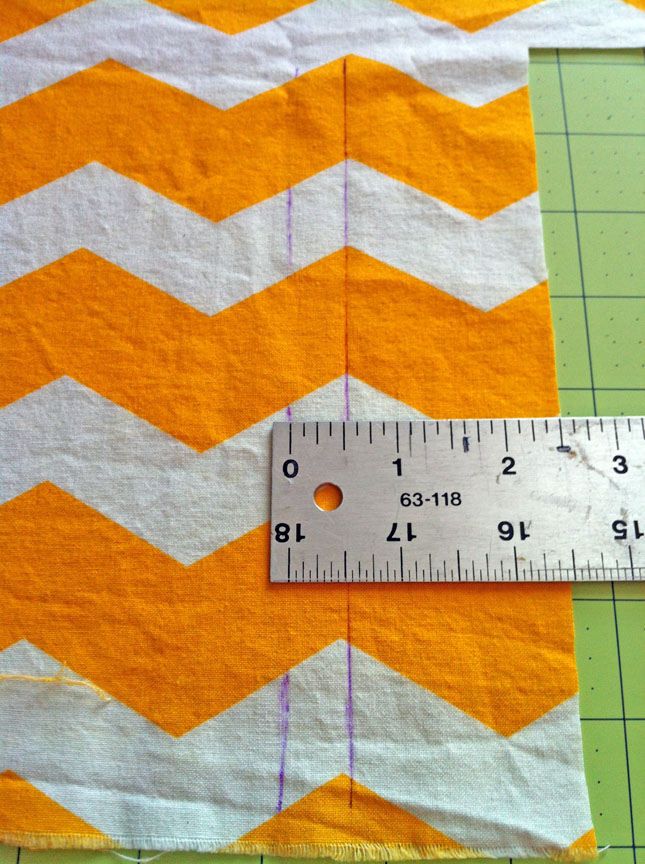
First, I cut out a pattern piece. Then, using a fabric marker and ruler, I measured and marked off the seam allowance.

I then pinned back the seam allowance.

Using the pinned edge, I matched up the chevrons on my fabric.
![]()
Using the fabric marker, I then drew a line to mark that edge.
![]()
I measured out and drew a second line for the seam allowance.
I used the new line for placing the corresponding edge of my next pattern piece.
I cut the new pattern piece out, pinned back my edges, and lined up and pinned them to their matching piece. I did this with all my short panels in order to easily keep track of which piece matched which.

I knew I would have no control over the seam connecting the right edge of my first panel and the left edge of the last panel. It was close enough for me that I was able to fudge it. One option to adjust would be shortening or lengthening the seam allowance a little bit. I found I had to lower the left panel a little bit. It was a small enough of a difference (1/4″) that it went unnoticed once the waist band and cuffs were attached.

The pinning of the seam allowances created creases.

The creases provided guides for placing my stitches.

I think ironing the seam allowances instead of pinning may be more effective. If I get brave and want to try another pair of chevron shorts, I will do that instead. I think it will make a better seam placement guide.
Here are the finished shorts again on my girls last weekend.


